
Introduction to how to draw nike shoes
How to draw nike shoes? Welcome to the world of Nike shoe sketching! Whether you’re a budding artist or a seasoned sketcher, this guide is designed to help you master the art of drawing one of the most iconic sports brands in the world. Nike shoes, with their distinctive style and design, offer an excellent subject to hone your drawing skills.
Drawing Nike shoes is not just about replicating an object. It’s about capturing the essence of the brand, which is known for innovation and style. This guide will take you through the essentials, from gathering the right materials to understanding sneaker anatomy and adding that final touch of realism to your work.
By learning how to draw Nike shoes, you can expand your artistic repertoire and add a popular and versatile subject to your sketchbook. It’s a fun and rewarding challenge that can help to sharpen your observational skills and attention to detail. So, let’s lace up and get ready to dive into the step-by-step process of Nike shoe sketching!
Essential Drawing Materials and Tools
To start your journey in Nike shoe sketching, you’ll need the right materials and tools. Having quality drawing essentials not only makes the sketching process enjoyable but also impacts the final outcome. Let’s take a look at what you should have on your sketching desk.
Pencils
A range of pencils is crucial for different stages of your sketch. Start with a 2H pencil for light, initial outlines. As you progress, switch to HB pencils for general sketching and B pencils for darker lines and shading.
Erasers
An eraser is a must-have for correcting mistakes and refining your sketches. Use a kneaded eraser for a gentle touch or a plastic eraser for stronger corrections.
Paper
Quality sketching paper makes a difference. It should be thick enough to handle erasing and shading without tearing. Opt for a smooth paper to allow your pencil to glide easily.
Sharpeners
Keep your pencils sharp for precise lines. A good sharpener is essential for maintaining fine points on your pencils throughout your sketching process.
Rulers
A ruler helps you establish straight edges and accurate proportions. It’s especially useful for getting the general shape and sole of the shoe right.
Blending Stumps
Blending stumps, or tortillons, allow for smooth shading and transitions between tones. They are great for creating the textures that are characteristic of Nike shoes.
With these materials and tools, you’re well-equipped to begin sketching Nike shoes. Each tool plays a role in the creation process, so ensure you’re familiar with how to use them effectively. Remember to practice as much as possible to get comfortable with your tools.
Anatomy of a Nike Shoe: Understanding the Parts
Before diving into how to draw Nike shoes, it’s essential to understand the different parts that make up a Nike sneaker. This knowledge will help you create more accurate and detailed sketches. Nike shoes have a distinct design that includes several key elements:
- The Upper: This is the top part of the shoe that covers the foot. It usually features the iconic Nike Swoosh logo, and it’s where a lot of the design details are.
- The Laces: Laces are not just functional; they also add to the aesthetics of the shoe. Capturing the lacing pattern is crucial in sketches.
- The Tongue: Located under the laces, the tongue often bears the Nike brand name and offers padding for comfort.
- The Toe Box: The toe box provides space for the toes and often features distinctive design elements, like perforations or seams.
- The Midsole: The midsole is the layer of cushioning that absorbs impact. Nike is famous for its innovative midsole technologies.
- The Outsole: This is the bottom part of the shoe that makes contact with the ground. It usually displays a textured pattern for traction.
- The Heel Counter: It supports and stabilizes the heel, often highlighted by its shape or a different color.
Identifying these components will make it easier to break down the shoe into basic shapes during your sketching process. Keep these elements in mind as you move on to sketching out the basic shapes and proportions.
Basic Shapes and Proportions for Nike Shoes
When beginning to sketch Nike shoes, start with simple shapes. Observe the shoe and break it down into basic geometric forms. For the body of the shoe, an elongated oval or rectangle can act as the main shape. Add a smaller circle or oval for the heel. For the sole, use a thin rectangle. To ensure accuracy, measure the overall length and width of the shoe. Proportion is key, as Nike shoes often have a distinctive silhouette.
Use the ruler to divide the main shape into equal parts. This helps maintain symmetry. Mark the toe box, midsole, and outsole using straight or slightly curved lines. Make sure these sections are proportional to each other. The heel counter should be marked at the back of the elongated shape. It usually stands out, so get its proportion right.
Notice how the upper curves and molds to the shape of the foot. Sketch this with a smooth line that dips and rises according to the style of the shoe. The laces will follow this curved path. Remember, practice these steps to get familiar with the basic shapes and proportions unique to Nike shoes.
Step-by-Step Process for Sketching a Nike Shoe
Ready to sketch a Nike shoe? Follow this simple guide. Let’s start with the basic outline. Use your 2H pencil to draw a light sketch. Think of the shoe as a combination of simple shapes. Begin with the outline of the sole, then the body. Don’t press too hard. You’ll refine these lines later. Now, identify the major parts we discussed earlier. Sketch the upper, laces, and the heel counter. Keep it light and easy. Adjust proportions with your ruler if needed.
Next, add structure to your shoe. Switch to your HB pencil. Use bolder strokes. Connect the parts you outlined. Make sure the shoe’s body looks three-dimensional. Use your eraser to correct any mistakes. Remember, kneaded erasers are gentler. Now, define the toe box and midsole. Mark the laces and tongue. Use careful lines to represent the Nike Swoosh distinctively.
It’s time for details. Use your B pencils for darker lines and deeper shadows. Focus on the textures. Is the shoe leather or fabric? Capture this in your sketch. Depict seams and perforations precisely. Blend your shading with tortillons. Create smooth transitions from light to dark. The realism starts to appear.
Refine your sketch with attention to details. Review the outline, shapes, and features. Emphasize the unique design elements of the Nike shoe. Use the eraser to bring out highlights. Make sure the Swoosh is prominent. It’s the brand’s trademark.
Finally, review your sketch. Do the proportions look accurate? Are the textures realistic? Use your sharpener to fine-tune the details. With practice, you’ll see improvement. Remember, sketching Nike shoes takes patience and attention to detail. Enjoy the process and watch your skills grow.
 Adding Details and Branding to Your Nike Sketch
When your basic Nike shoe outline is ready, it’s time to focus on details and branding. This phase is where your sketch turns from a simple likeness to a shoe that screams “Nike”. Follow these steps for refining your drawing:
Emphasizing the Nike Swoosh
The Nike Swoosh is an emblem of the brand’s identity. Make the logo prominent. Start with a light outline using your HB pencil; this ensures correct position and size. Once satisfied, darken the Swoosh with a B pencil. Keep the edges clean and sharp. This step makes the brand instantly recognizable.
Depicting the Laces and Details
Nike shoe laces have a crisscross pattern that needs careful attention. Outline each lace with precision, making sure they look woven and not flat. Pay attention to the holes through which the laces pass, often overlooked but crucial for realism. Use subtle shading to create depth.
Design Elements and Textures
Add the specific textures that define Nike’s shoe materials. If it’s leather, make sure your lines suggest its smoothness. For fabric, subtle crosshatching can indicate texture. Include any mesh areas and reflect the way light interacts with the material. This conveys the shoe’s quality and care in design.
Colors and Contrast
While you might be sketching in grayscale, you can still suggest color through contrast. Identify where darker tones on the shoe would be and apply deeper shading. This steps brings your shoe to life even without color. It also accentuates the design’s dynamic nature.
By focusing on these details and the iconic branding elements, your Nike shoe sketch will gain a professional edge. Practice these techniques frequently. Over time, they become second nature and your Nike shoe sketches will look more authentic and vivid.
Tips for Enhancing Realism in Your Sketches
Achieving realism in your Nike shoe sketches is all about the details. Here are some tips to elevate your drawings:
Analyzing Light and Shadow
Understand where the light hits and where shadows fall on the shoe. This will add depth to your sketch. Use softer pencils like B or 2B for shadowing areas. Keep lighter areas touched by a 2H or HB pencil.
Fine-Tuning with Textures
Observe the textures of different Nike shoes. Leather looks smooth, while fabric has a distinct weave. Recreate these textures with appropriate shading techniques. Crosshatching can mimic fabric, while smooth gradients work for leather.
Adding Realism to the Background
Don’t ignore the background. A simple shadow beneath the shoe grounds it in space. This makes the shoe appear more realistic. For a shadow, use a light touch with a softer pencil and blend well.
Ensuring Proportion and Perspective
Double-check proportions throughout your sketch. The size and angle of the Swoosh, laces, and sole should be correct. Use a ruler for straight lines and compare different parts for consistency.
Refining the Smallest Details
Pay attention to small details like stitching and perforations. They might seem minor, but they matter. Use sharp pencils for these tiny elements. Details like these bring your Nike sketch to life.
Practice, Practice, Practice
There is no substitute for practice. Sketch often to familiarize yourself with Nike shoe designs. With each sketch, focus on improving your ability to depict realism. Use tutorials and real shoes as references.
By applying these tips, you’ll notice your Nike shoe sketches will start to look much more realistic. Remember, capturing the essence of Nike’s design helps create an authentic artistic representation.
 Practice Projects: Sketching Different Nike Shoe Models
How to draw nike shoes? After mastering the basic steps, it’s time to put your skills to the test with practice projects. Exploring various Nike shoe models allows you to deal with different designs and complexities. Here are some focused practices to consider:
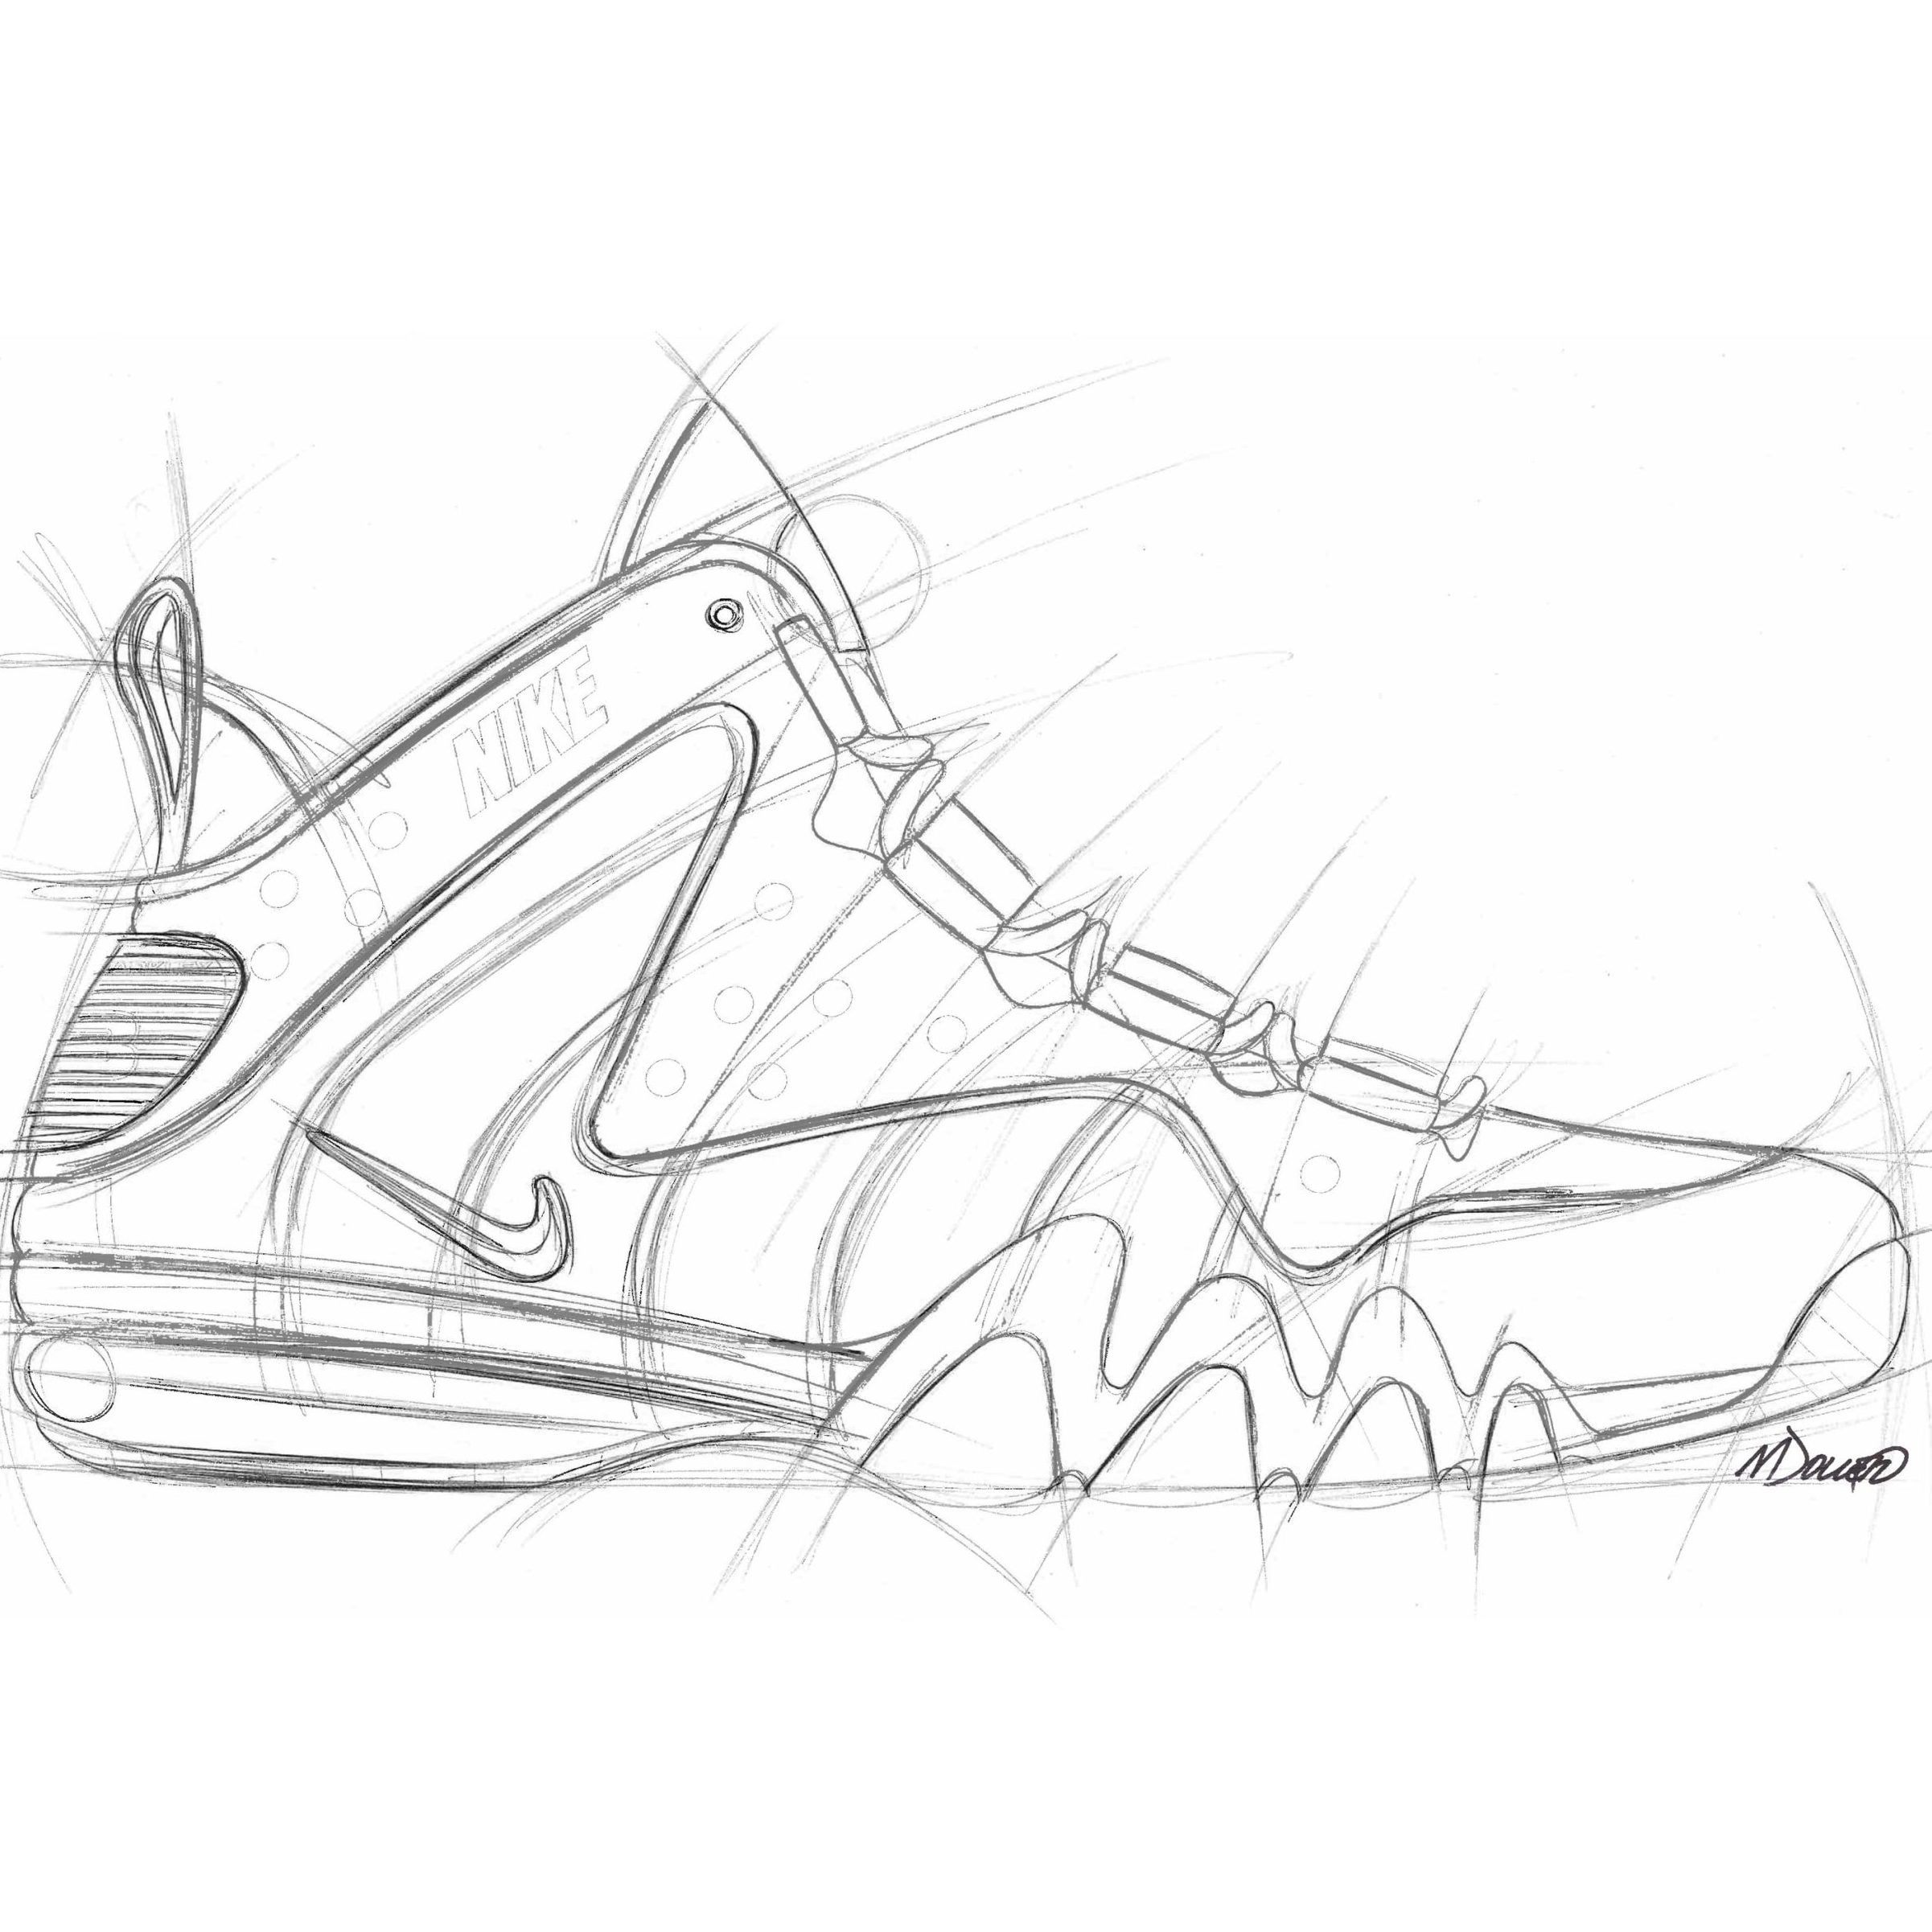
- Air Max Series: Known for its visible air cushioning, sketch the curves and unique sole designs of this line. Pay attention to the air bubble and its placement.
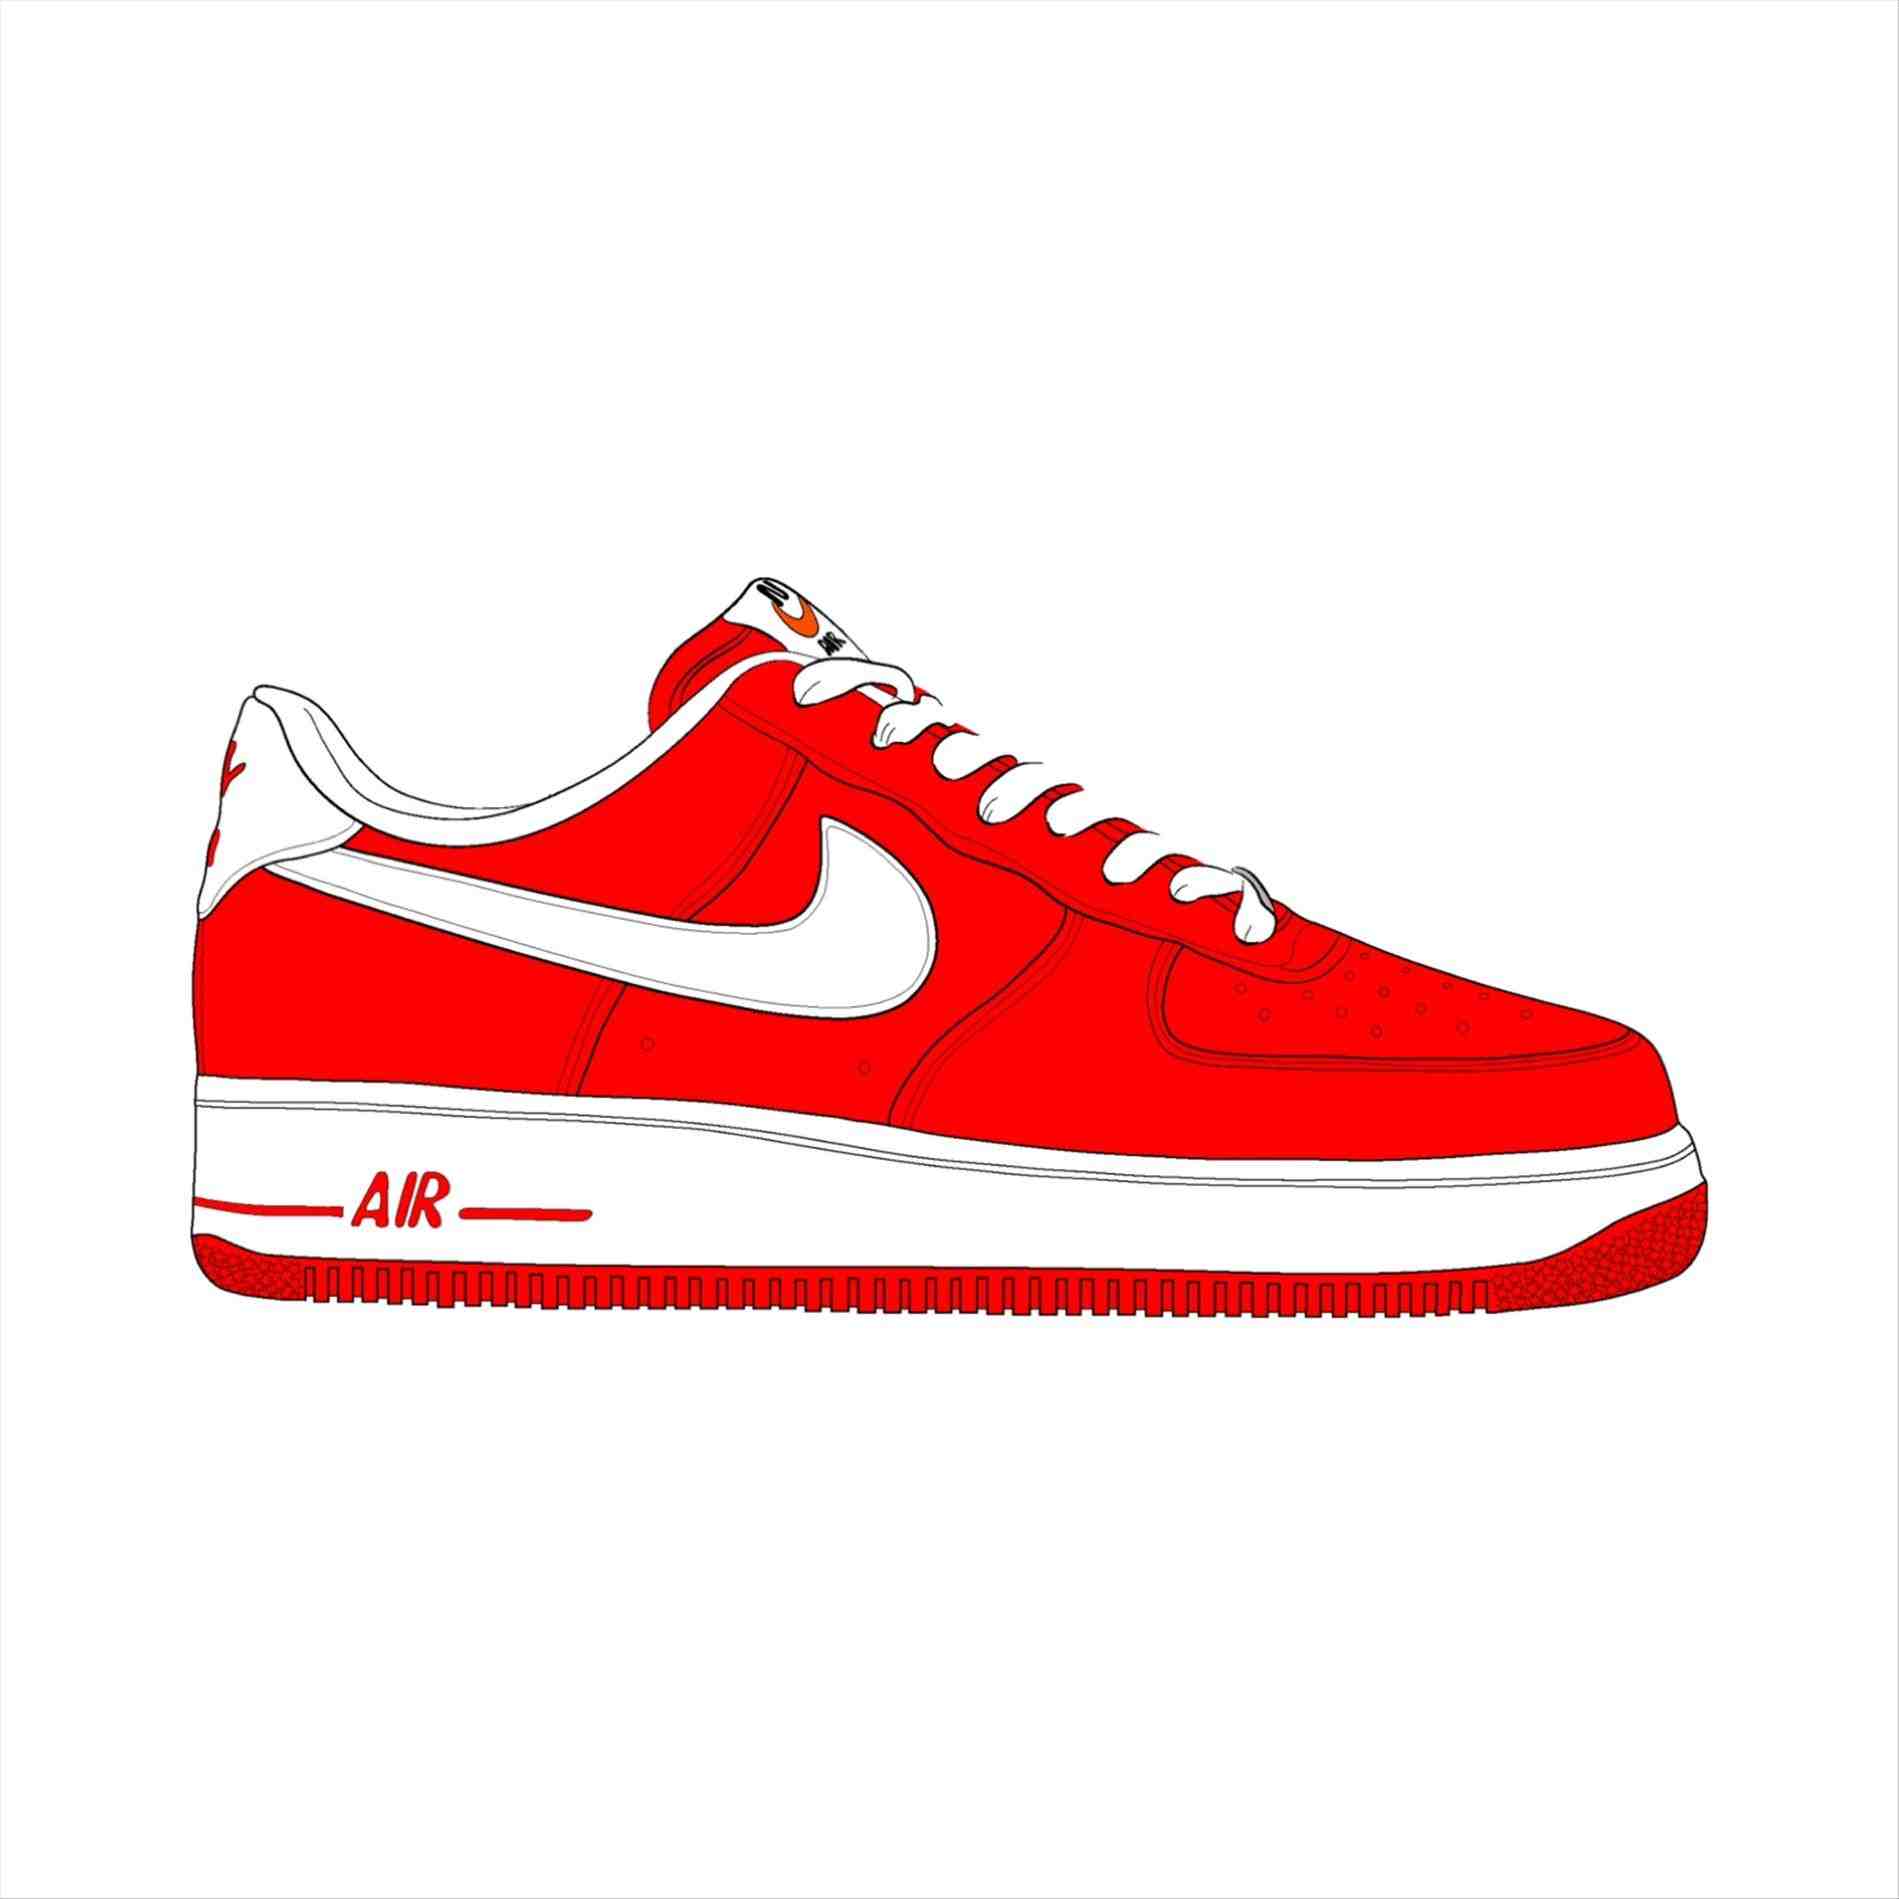
- Air Force 1: Capture the chunky silhouette and the classic design elements of this iconic sneaker. Highlight the thick soles and the neat lacing system.
- Nike SB: This skateboarding shoe has a padded tongue and distinct textures. Notice the grip pattern on the sole and how it affects shading.
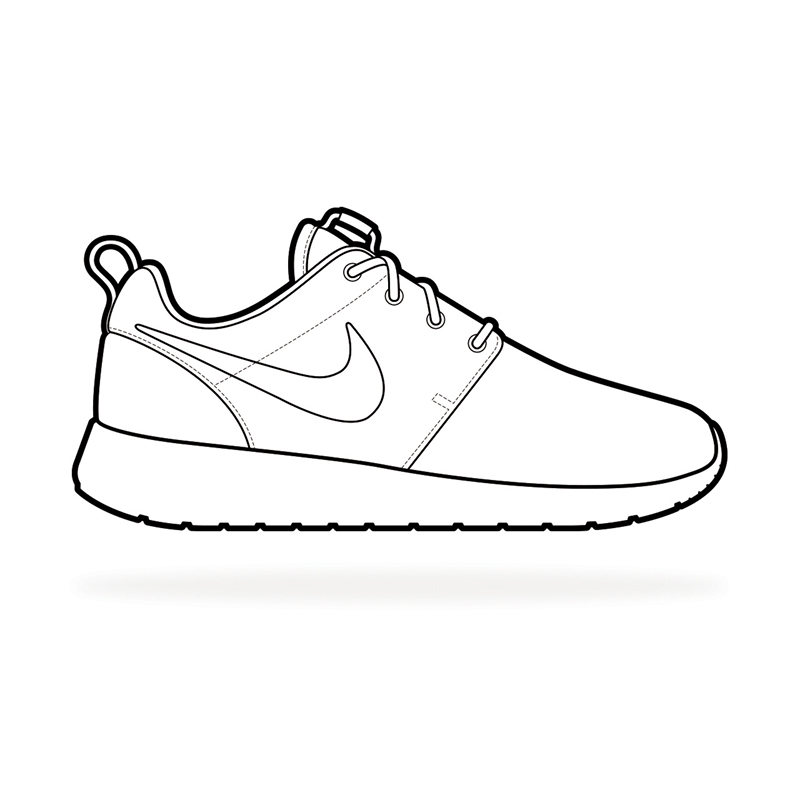
- Nike Free: Focus on the flexibility of the soles and the minimalistic upper design. Practice depicting the lightweight and breathable features.
Each model presents its unique set of challenges, from Air Max’s air cushions to the rugged soles of the SBs. By sketching a variety of models, you enhance your understanding of Nike’s design diversity. Keep your keywords in mind – how to draw Nike shoes – as you detail each distinctive feature. The repetition in practicing different models sharpens your ability and helps you capture the essential Nike spirit in your sketches. Embrace the variety, and watch your portfolio of Nike shoe sketches grow!